Do you want to add live chat to interact with your visitors in real-time on your Joomla website?
Today, more than 41% of users expect to chat online with the service providers so they can get instant answers to their queries and close the deal. They don’t want to waste their time waiting for email replies.
Therefore, if you are not using a live chat on your website, you are ignoring your customers. And indirectly, you are sending them to your competitors.
If you are using live chat on your website, it will also help you to convenience your customers to make a purchase by solving their queries instantly. As instant responses can help them to make decisions faster.
Today, in this article, we are going to learn how to add live chat on your Joomla website for FREE. Yes, we will discuss the free method which I have tested and currently using on our official website Joomdev.com
Adding Live Chat To Your Joomla Site
Companies that are using live chat on their website to interact with their visitors or potential customers can see a surge in their sales, customer satisfaction, and services.
But,
The live chat solutions are either costlier or provide very limited features in their free version. But for the last few months, I have been using Tawk.to on our official website JoomDev to communicate with our customers. It’s a completely free solution that gives you no limitation in their free version. You just can’t remove their link from the chat widget.
So in this tutorial, I will use Tawk.to to implement live chat on the Joomla website.
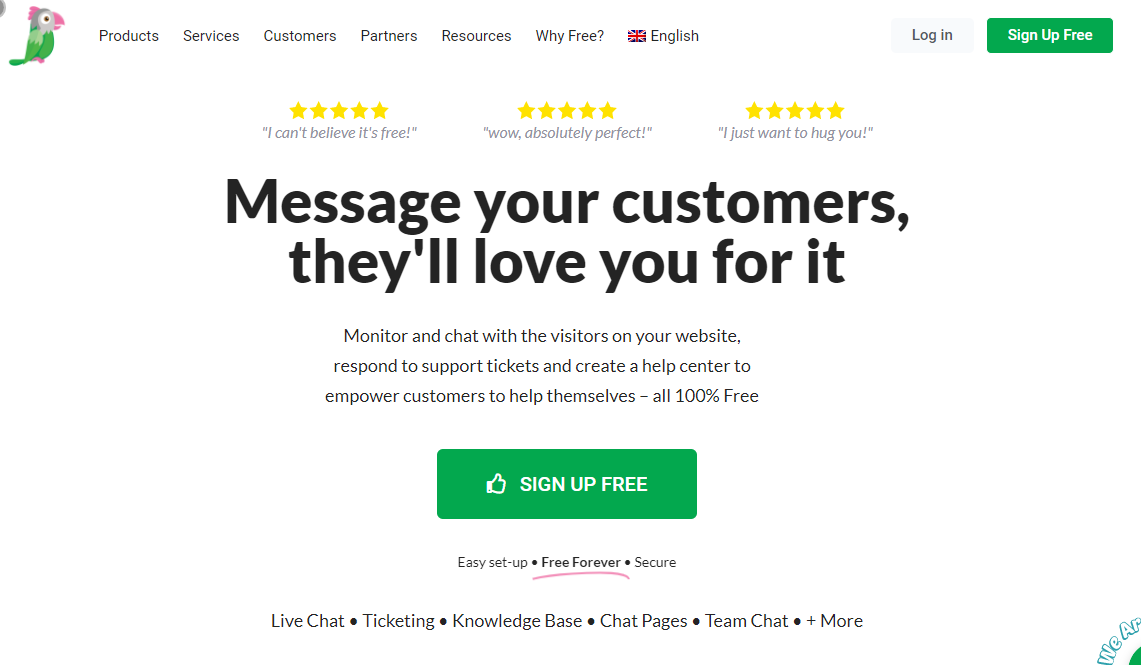
To get started, head over to Tawk.to the official website to create a new account.

Next, click on Sign Up Free to create your free account.
This will take you to the new page where you have to provide the basic information such as Name, Email, and Password.

Click on the Signup for free button and it will take you to the next page where you just have to follow the wizard.
In the first step, you have to select the language. Select the language and click on the Next: Create Property button.

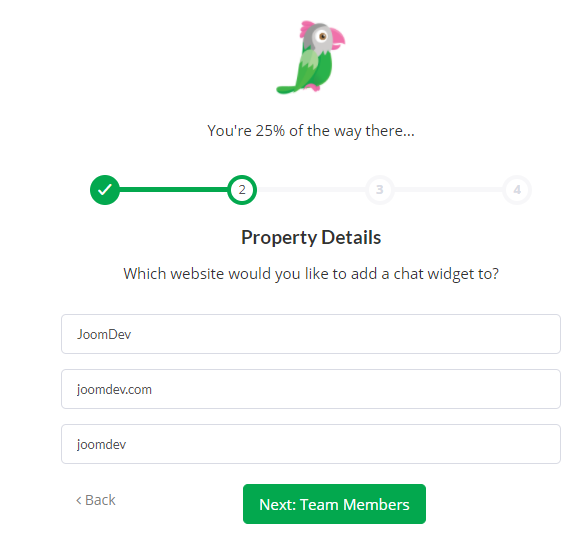
In the next step, you will have to add the property details such as Property Name, Website URL, and Widget name.

Once all the information is updated, click on the Next: Team Members button.
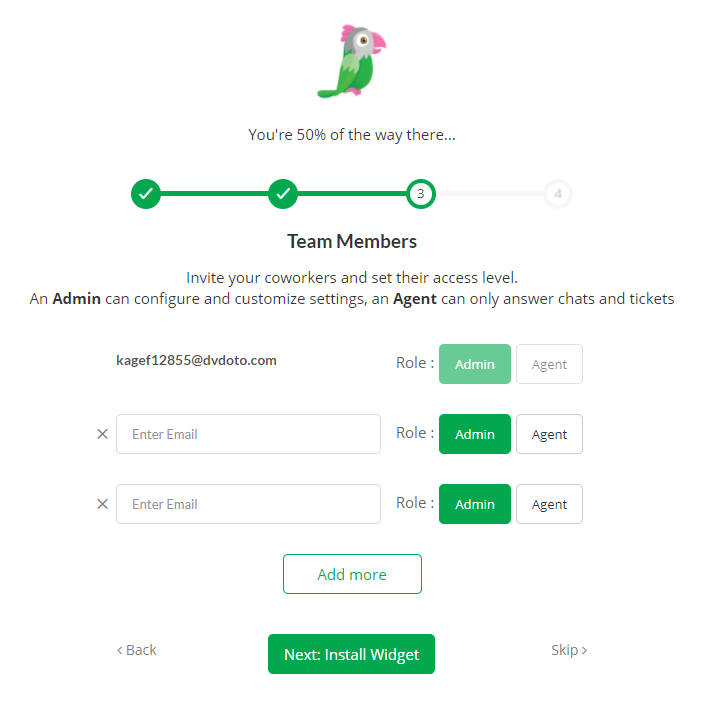
In the next step, you can add your support staff. Here you can set the access level as well. You can add as many co-workers as you want.

Once done, click on the Next: Install Widget button and move to the next step. Once you click on the button, you will reach the next step. Here it will generate a script for you. Simply copy that code and place that code before the </body> tag on every page of your website.

Alternatively, you can download the Tawk.to plugin and install it on your Joomla website. You can find a step-by-step guide to install the Joomla plugin and module.
Once the code is placed, click on the Done button and check your website live. You will see a live chat widget floating right bottom of the screen.

Customizing the Chat Window Appearance
You can change the whole look and feel of the chat window to match your website theme. To make these changes, log in to your tawk.to account and navigate to Administration (you will see a gear icon at the left bottom of the window) > Chat Widget under the Channel.

You will see other settings as well here. Start playing with the options and start interacting with your customers in real-time.
So this is how you can set up a free live chat on your Joomla website and communicate with your customer in real-time.